Get a Crystal Clear View Every Time
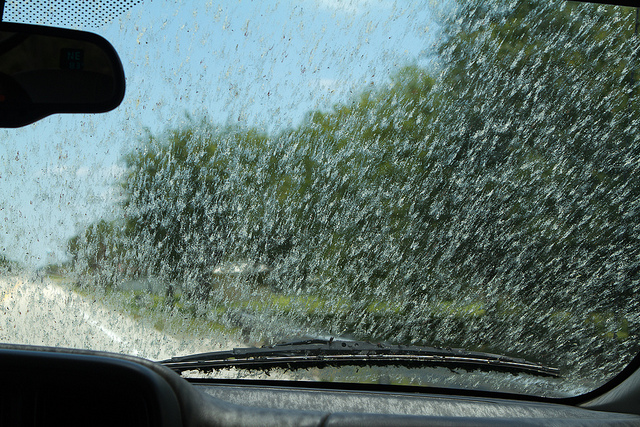
…Ever driven through the South Eastern United States during the “Love Bug” season? Those nasty bugs will cover your entire windshield at a flash.
And as I’ve learned, simply running your wipers with windshield washer fluid just won’t get the job done.

Fortunately, maintaining a clean windshield is pretty easy.. It doesn’t require any serious elbow grease, you just have to do it regularly. Besides, you want to be sure to clean bugs, dirt, and all of that nasty grime from your windshield to keep you and other drivers safe on the road.
Therefore, in this post you will find the tools and the 5 steps necessary to get your RV Windshield super clean. The tools and steps listed are from RVgeeks, a youtuber who documented how he cleans his rv’s windshield.
The tools you’ll need to get the job done:
- Invisible Glass (or a Sustainable Glass Cleaner)
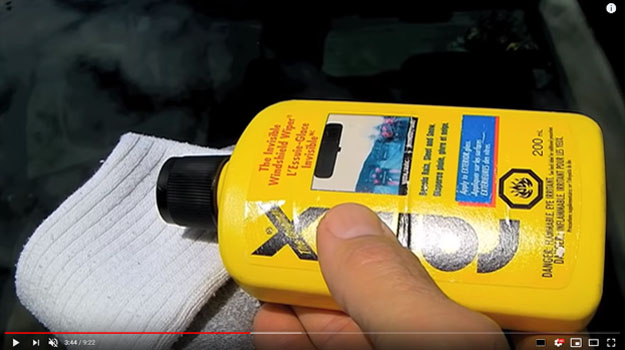
- RainX
- 2 old t-shirts
- An old sock
- Steel Wool – make sure you’re using the finest steel wool available which is 0000
Step 1:
To remove the bugs and small debris marks, RVgeeks begins by taking the steel wool and starts to lightly rub on the glass. At this point, you are probably wondering if the steel wool is going to scratch the glass but RVgeeks confirms that it will not scratch the glass as long as you are using steel wool 0000 and it is wet.
So, proceed with caution and at your own risk.
To start, I would clean the windshield first with some Invisible Glass prior to cleaning the windshield with steel wool.
Be aware that the only thing you will not be able to remove are water spots that develop over time. By rubbing the steel wool on the glass, you are essentially polishing the glass and removing small particles.
And take note, you should continue rubbing the glass with the steel wool for about 5 minutes.
In the instructional video below, RVgeeks discloses: “obviously it’s not going to get stone chips out or anything like that but it’s going to remove all of the microscopic dirt and debris that’s stuck to the windshield”
Once you are done on one side, you can feel the difference that it makes by running your hand across the side of the windshield you just worked on. It’s nice and smooth and it feels waxed.
However, rub your hand across the other side you have not worked on yet.

Notice the difference? Big difference isn’t it?
Step 2:
Now you can move to the next step and start to apply rain x. Using an old sock, apply rainx liberally to the sock and only the sock. Be sure Not to get any rainx on your car or paint.
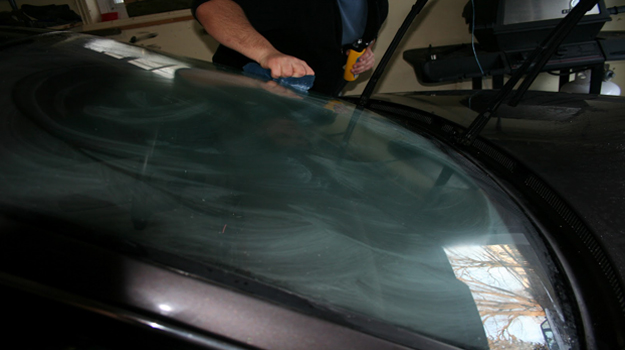
Take the damp section of your cloth and begin applying this in a circular motion, thoroughly covering every surface of the glass. Put it on just like you’d apply car wax to the paint in a circular, overlapping motion.
You’ll want to make sure to get right into every corner, completely covering the surface. As rainx adheres to the glass, you will notice a glass film will begin to develop on the covered area.

You want to make sure that you cover every surface. Don’t miss any areas or you will notice the area you missed when it first rains.
Now let it dry until a slight haze begins to appear. Let it dry for about 10 mins and then re-apply a second time making sure that you have covered the entire area of the glass.
Let that dry for 10 minutes until you see a milky haze on the glass.

Step 3:
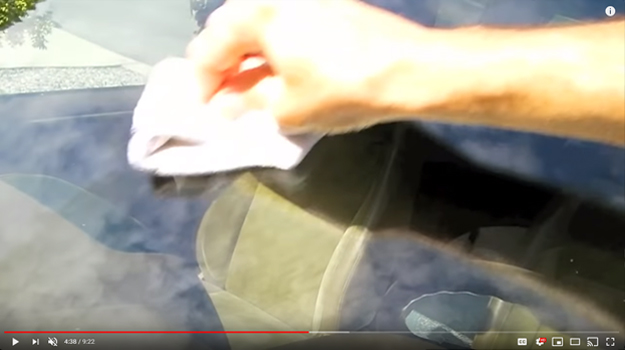
Moving to the next step, take one of the dry t-shirts and you’ll want to make sure that you get it soaked. Wring it out thoroughly but be sure to leave it wet but not to the point that it is dripping wet.
You want to make sure that it’s quite moist. No need to press down on the glass, just wipe the entire glass area and make sure to remove all of the rainx.
Tip: Now if you’ve used rainx in the past, you’re probably familiar with the old instructions where it recommended you use a dry rag to remove it.
You also probably remember getting your Mr. Miyagi “Wax On, Wax Off’ training in order to get that stuff off with a dry rag. It took some serious elbow grease.
Well…that’s all changed now. All you need is a clean, smooth, moist rag and simply wipe off the rainx.
Step 4:
Dry your windshield.
Now, use your dry cloth to dry the glass. The glass should be super smooth at this point. You will notice that it feels just like a “freshly waxed paint job.”

<<Tip: Overtime, your wiper blades will wear off the rainx from the glass and you will find yourself having to apply rainx quite frequently. To help reduce it from wearing off so quickly, use the cloth (the sock in this example) that you used to apply rainx and wipe it on your wiper blades. This will help to make the rainx last longer.>>
Step 5:
Your last step is to Clean the interior of your windshield with Invisible Glass w/Rain Repellent. RVGeeks states in the video that he has major allergies so he can’t use products like Windex that has ammonia in it.
And so, he prefers Invisible Glass w/Rain Repellent because it is less harmful to himself as well as the environment.
The spray nozzle has 2 settings, smooth and spritz and it goes on pretty quickly. It does a great job, leaving less streaks then other products I’ve used and wipes off quite easily.
And that’s all to it. Your windshield will be super clean. Now you are ready for another road trip.
Happy Travels.
